
This post is the third of a three part series on what I have “humbly” deemed my sloyd horse. You may want to read the first post on the Spoon Mule, and the second post on the Bowl Horse as I won’t be repeating much of the information found in those posts. Additionally, they are also fascinating and very well written. I use italics to denote sarcasm or hyperbole.
I have to be honest, I built the shave horse because I had the plans and it just seemed like I had to build one. In my mind, it is the most recognizable of the three holding devices. What I’ve found is that it is also the most versatile. But let’s get to the good stuff, where to find what I learned from people far more experienced than I.
My main sources of information for the shave horse came from Tim Manney and Sean Hellman. Tim has written several blog posts on the topic that go into much greater detail than I ever will. I see Tim as an expert, the knowledge he shares is detailed and easy to understand. That is a long winded way of stating I’ve drank Tim’s Kool-Aid and liked the taste. Sean Hellman has a book of clamping devices that can lead to sensory overload, but I found it not too hard to start seeing what I did and did not want in my shave horse. It is a wonderful book filled with options and I look forward to building something from the book.
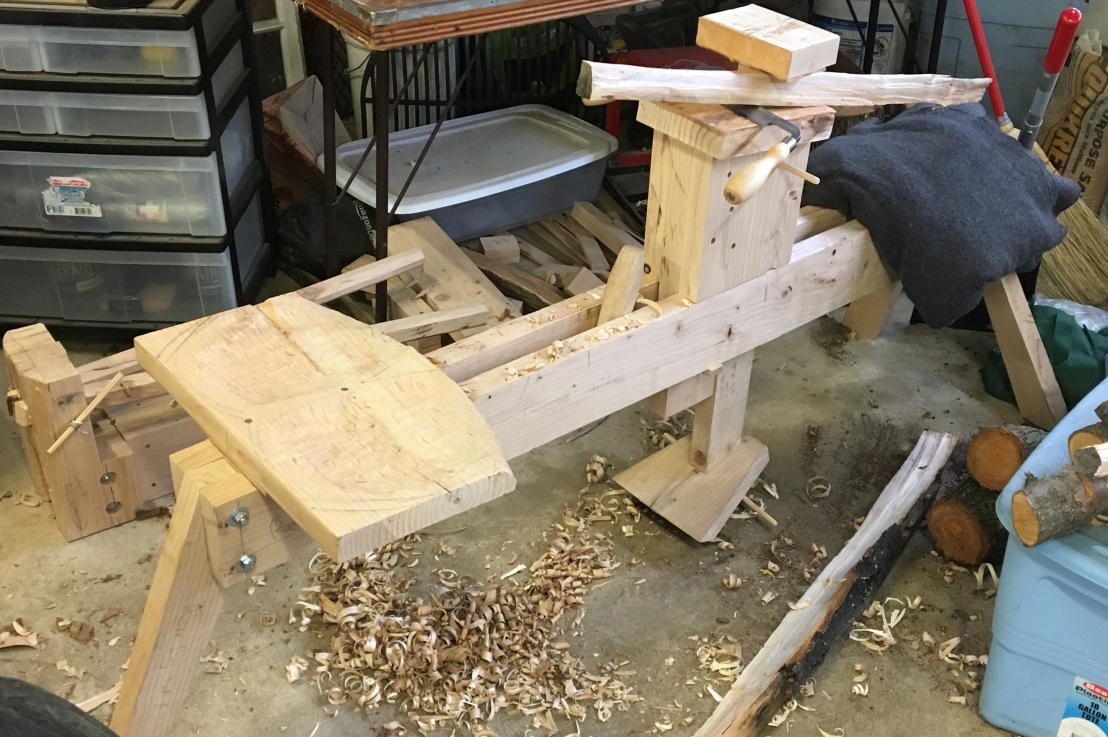
The versatility of the shave horse comes from the clamping action. You push on the peddle and the clamp comes down and traps the material against a platform. The more you lean back, causing you to add more force on the peddle, the tighter you hold onto the material. I often feel like I am rowing a boat when I start removing large amounts of material, and then switch to just moving my arms when removing smaller shavings. As you can move the head up and down on a series of pivot points, you can work on something as small as a ¼” dowel, up to a quartered log.
This post is a bit short on pictures. With two hands on a sharp blade, it is tough to take pictures with my phone. I try not to bore my family too often with taking pictures of me making larger pieces of wood into smaller of wood.


I would like to thank all my recent followers to the blog. I hope you find it useful and encouraging. I really have no idea what I’m doing. I just know that I enjoy learning more, and have an ego large enough to share my mistakes and a few successes along the way.
If you enjoyed this little view into my greenwood journey, feel free to like, comment, and or follow. I know some people look at these posts; I would enjoy getting some feedback.

Love the versatility of this horse!! As someone with very limited shop space having something like this really appeals to me. Very nicely done!
I’ve been following along on Instagram for a while now, but only just found your blog. Good stuff!
LikeLike
Thanks Mike. What is your handle on IG?
LikeLike
I’m @Woodbeard_ over in IG
LikeLike
I have enjoyed reading your posts. I too need both a spoon mule and a shaving horse. My immediate need though, is that I have a stack of quartered logs that need a lot of draw-knife work. You have said that Tim Manning’s design is up to this task. Could you tell me what the maximum clamping capacity is? Thanks.
It would be great to use the same frame for both the spoon mule and a shaving horse.
LikeLike
Richard, I am happy to hear you found the posts enjoyable. Part of the design is a peg in the swing arm so you can adjust the head to accept different size pieces. I’ve got to believe it would work on pieces up to 3 inches. Most of my experience is with wood between 1 and 2 inches with finished parts resulting in 1/2 inch to 1 1/2 inch sized. If I’m trying to break down a log for drawknife work, I find using a hatchet to get to less than 1/2 inch to final size to be the most efficient use of time. For really large work, like legs on a pole lathe, I clamp it up on a workbench.
LikeLike
Thanks for the information. It seems my quarter logs will have to be split prior to working with a drawknife. Do you have an idea what wood to use for a horse that will be kept outside?
LikeLike